E-mail Us at info@wingtupet.com
Call Us at Wingtu Pet | Whatsapp +1- 626 734 5510
Get A Quote
Introduction: Safety begins with correct wearing
As a professional manufacturer of pet chills and harnesses, we are well aware that the risk of breaking free often stems from improper wearing. According to market research, 70% of pet escape incidents are related to incorrect size, loose adjustment or structural design flaws of the chest and harnesses. How can we make the chest harness fit the pet’s body well while providing a comfortable and safe traction experience? From the perspectives of product design principles and user practice, we will analyze the five key steps of scientific wearing for you, helping owners and their beloved pets enjoy peaceful moments together.
The first step: Measure precisely and select the appropriate size
Manufacturer’s suggestion: Select products based on dynamic demands
Measurement method:
Use a soft tape measure to wrap around the widest part behind the pet’s front leg (the chest cavity) once. Record the value and add 2-3 centimeters (to reserve the thickness of the fur and the space for movement).
Note: For puppies or sensitive pets, it is recommended to choose the retractable and adjustable model to adapt to the rapid growth period.
Product selection:
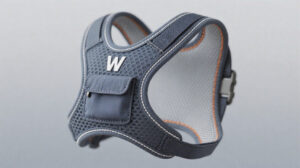
- H-shaped chest harness: Suitable for short-haired dogs, it distributes neck pressure and prevents the forelimbs from sliding.
- Y-shaped chest harness: It conforms to the curve of the long-haired dog’s chest cavity and prevents the hair from tangling the clasp.
- Reinforced chest harness: For “aggressive” dog breeds, the back is widened with a force-bearing band and paired with double safety buckles.
Step 2: Pre-adjust the clasp to enhance wearing efficiency
Manufacturer’s design details: Humanized and quick to wear
Pre-adjust the tightness of the snap:
Based on the measurement data, adjust the neck circumference and chest circumference clips of the chest harness in advance to a state that is “slightly looser than the actual size of the pet” (leaving a 1-2 centimeter gap for fingers to insert).
Positioning using reflective signs:
Most professional chest and harness straps are equipped with reflective strips at key stress points. When wearing them, make sure the reflective strips are located right in the center of the pet’s chest to prevent it from slipping sideways.
Step 3: Split wearing to reduce pet resistance
Scientific wearing Process (Taking H-shaped Chest Straps as an Example)
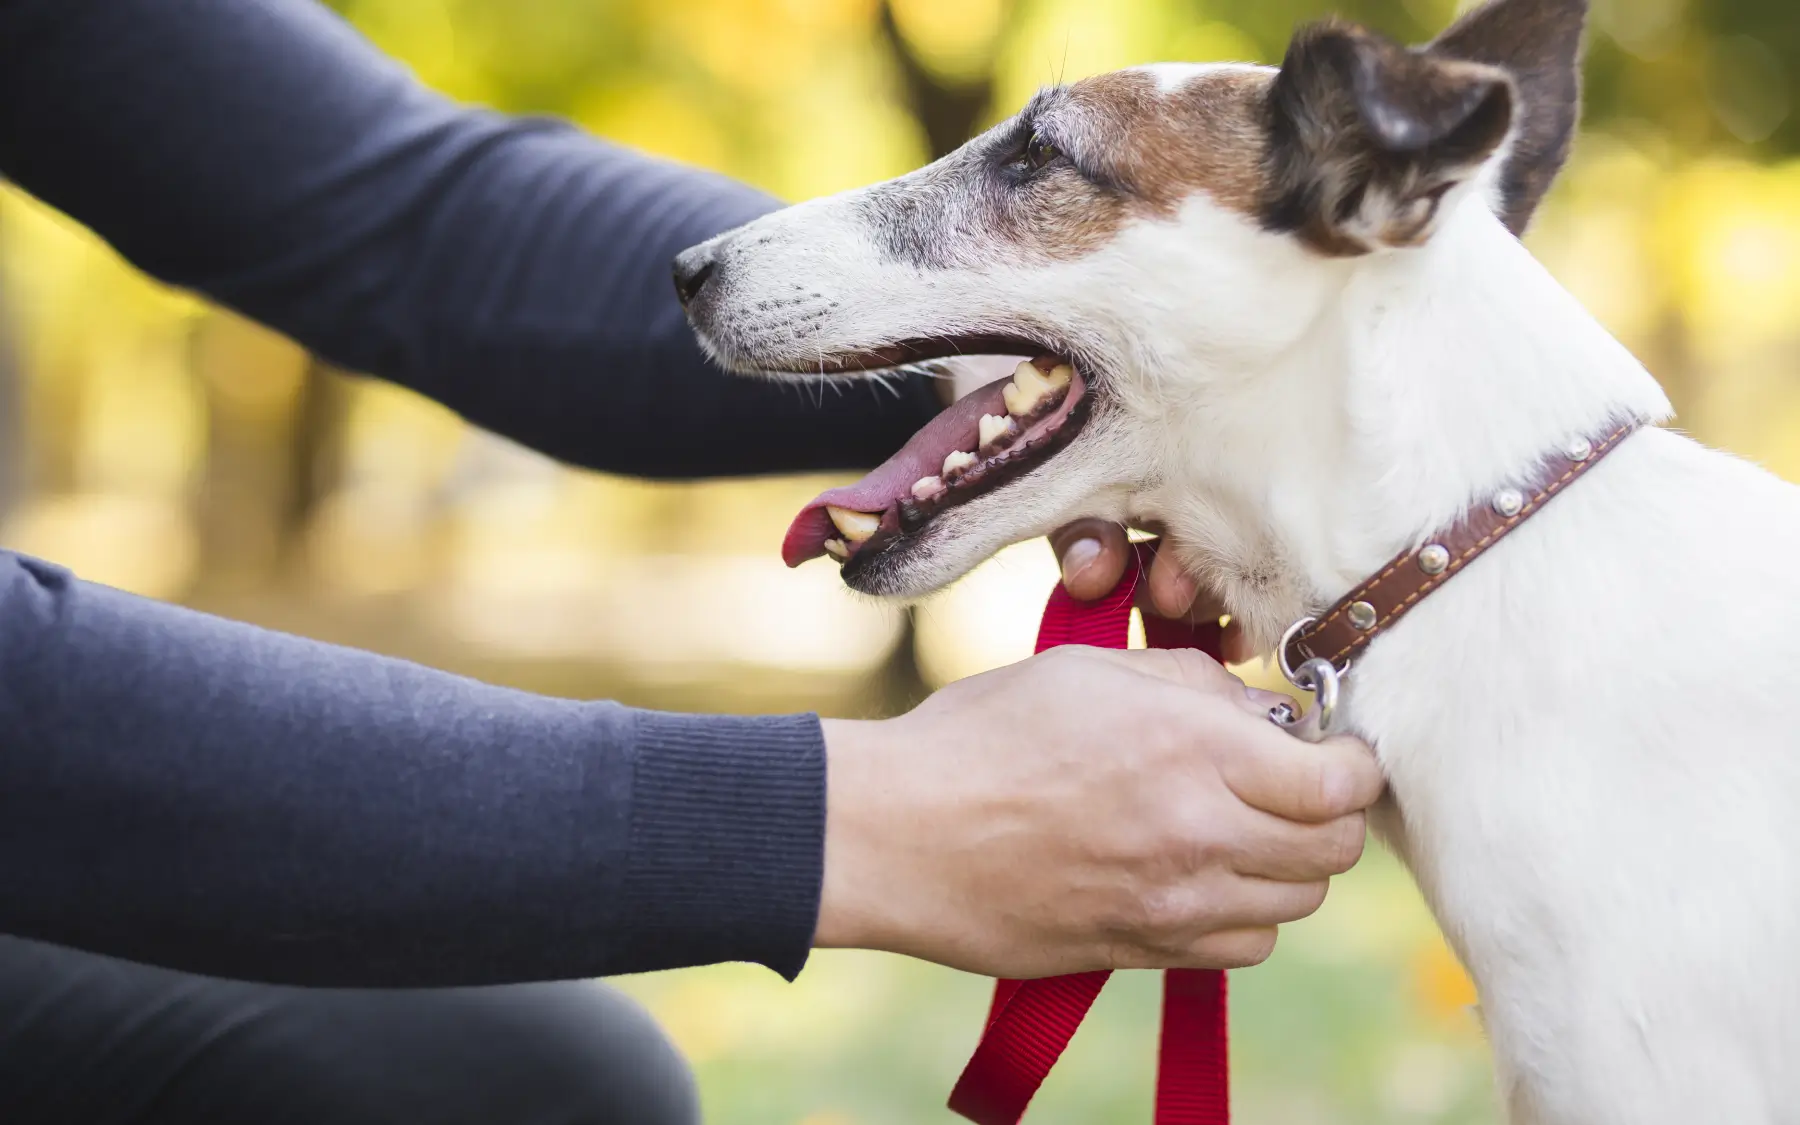
- Insert the neck ring Gently insert the neck loop over the pet’s head to avoid touching the ears or whiskers and causing discomfort. Manufacturer’s tip: Choose a neck ring lined with soft silicone to reduce friction sensitivity.
- Insert the front leg of the guide Pass the chest strap under the pet’s left front leg and pull it down to the right armpit, making sure the chest force band is parallel to the ground. A tilted chest strap can cause lateral strangulation and increase the chance of breaking free.
- Fasten the back buckle Join the chest straps on both sides at the back, fasten the main buckle and check the tightness for the second time (it is better to insert two fingers).
Step 4: Dynamic fine-tuning to ensure a stable fit
Manufacturer test data: Optimization solutions in dynamic scenarios
Simulate the activity state of pets:
Gently lift the traction rope and observe whether the chest strap slides up to the neck (which may cause a risk of suffocation).
Gently pull forward to test if the chest strap presses against the armpit of the front leg (adjust downward by 1-2 centimeters).
Strengthen the key points of fixation:
Use the auxiliary adjustment straps on the side of the chest strap (commonly found in professional models) to further fix the chest and abdominal straps.
Technical principle: The three-point fixation has a 40% higher resistance to breaking free compared to the traditional two-point fixation.
Step 5: Regular inspection and maintenance
Manufacturer’s Guide for Extending Product Lifespan
Key points of weekly inspection:
Check if the snap spring is sensitive and if the metal parts are rusty (it is recommended to choose aviation aluminum snap).
Check if the webbing has burrs or breaks (nylon + polyester blended material has better wear resistance).
Cleaning and maintenance
After disassembly, hand wash in cold water and avoid direct sunlight (high temperature can easily cause the webbing to harden).
Conclusion: A dual guarantee of safety and comfort
Wearing the chest and harnesses correctly is not only a technical issue, but also a profound understanding of pet behavior and product mechanics. As a manufacturer deeply engaged in the pet equipment field, we always take “zero risk of escape” as our design goal. Through scientific structures, high-precision adjustment systems and materials that conform to animal engineering, we provide every pet with a “free yet safe” travel experience. May every outing of the owner and the beloved pet be a delightful journey of peaceful exploration.